Even though the Microsoft Surface is a hybrid of tablet and laptop, the combinations of keys required to take a screenshot on this device are completely different.
How to Take Screenshots on a Surface Device?
Unlike in other Windows devices, the Windows logo on the Microsoft Surface is an input device. This logo plays a huge role on screenshots in older Surface devices. In the newer Surface, this logo is replaced by a power button beside the volume buttons.
Take a Screenshot of the Entire Screen
One of the easiest ways to take a screenshot of your whole screen is by using the default buttons. All the keys mentioned above are used for taking screenshots of the entire screen. For Microsoft Surface Pro 3 and Earlier
Windows Logo + Volume Down Button Fn Key + Windows Button + Spacebar
For Microsoft Surface Pro 4 and Later
Power Button + Volume Up ButtonDouble Click on the top of the Surface pen
Let’s go through each of them individually to learn and use them properly.
Using Hardware Buttons
The most common and popular way to take a screenshot on your Surface device is by pressing down either of these buttons based on the model of your Surface:
On Surface RT, Surface 2, or Surface Pro 3:Hold down the Windows Logo at the bottom of your tablet screen and press on Volume down Button On Surface Pro 4, Surface Go 3, Surface Pro X:Hold down Power Button and press on Volume up ButtonOn Surface Duo:Hold down Power Button and press on Volume down button
It is the fastest way to take screenshots on your surface device. After pressing these buttons, your screen dims down for a millisecond. The system captures an image and saves it to the screenshot folder in your computer library.
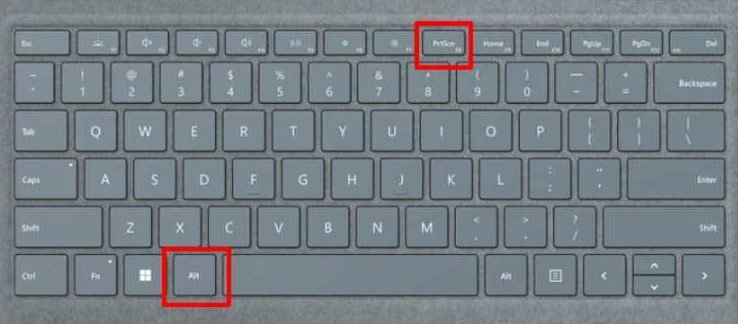
Using Alt and PrtSc Key
On the condition that you use this method to take a screenshot, the image gets saved in your OneDrive. If you are wondering what Onedrive is, it is a microsoft service that lets you store pictures, videos and folders. This method is possible for models such as Surface pro 4 and later, as most older ones don’t have a PrtSc key on their keyboard.
Hold down Alt Key and press PrtScn Key
Usually, the PrintScreen key is located between the volume up key and the home button. And Alt key between the Windows key and spacebar. It captures the image of whatever is displayed on your Windows screen and saves it to the clipboard and a folder called OneDrive instead of ScreenShots in your computer’s library.
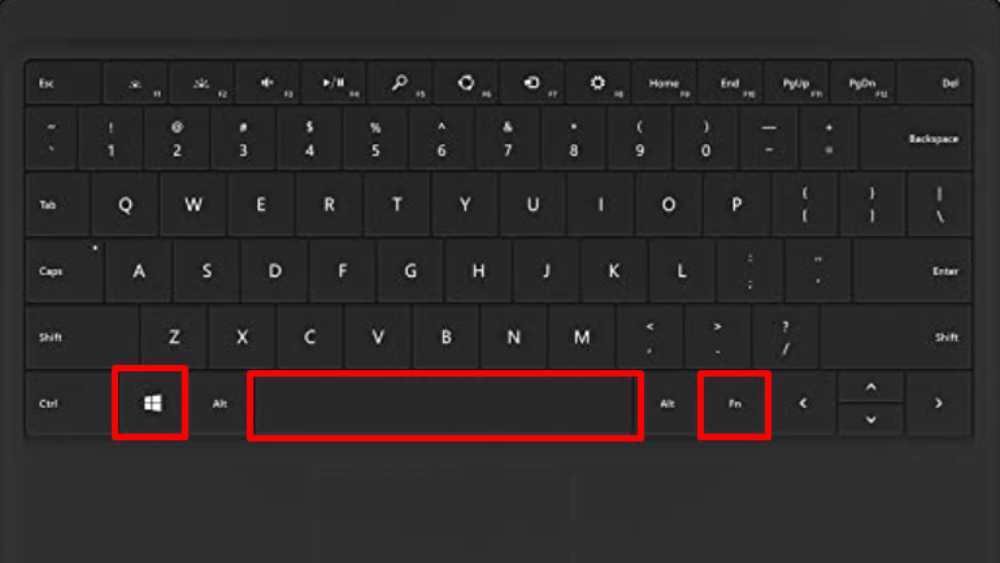
Using Fn, Windows Key and Spacebar
This method is applicable for older models of Surface. It is one of the most used combinations of keys to take a screenshot on this device. To use this method This saves the image of your screen to the clipboard. You can use inbuilt tools like OneNote or MS paint to save and edit it.
Using Surface Pen
Surface pen is a stylus that lets you easily draw and write on your Surface tablet. However, the Surface pen only comes with Surface Pro. Older models like Surface RT don’t have a pen digitizer. To take a screenshot using Surface Pen, all you have to do is Double click the top of the pen. This will also save the image to OneDrive Folder in your library.
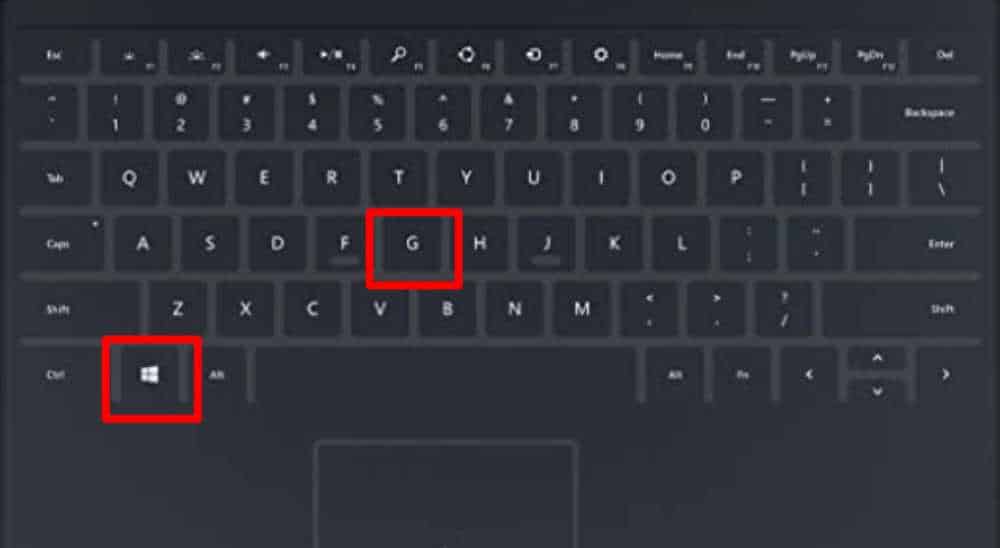
Using Xbox Game Bar
Taking a screenshot using an xbox game bar is not as complicated as it sounds. People mostly use this approach to record gameplay videos. The image gets saved in the Captures under the Xbox app
Take a Screenshot of a Portion of Your Screen
Some built-in tools like MS Paint or Snipping Tool easily let you take screenshots of a particular portion of your screen. You can also install free third-party apps like lightshot to easily capture a part of your Surface’s screen. Let’s talk about these tools in more detail.
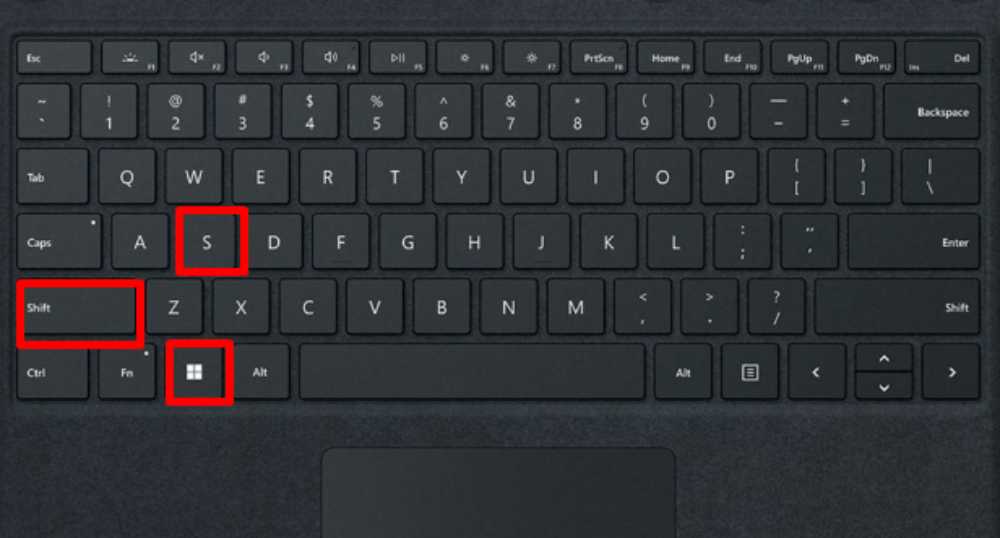
Using Snipping Tool
Snipping Tool is a built-in tool that lets you take a screenshot of a specific screen area. To activate this, all you have to do is press down these three keys together. If Windows + Shift + S keys don’t work, you can easily search for a snipping tool on the search bar next to the start menu and follow the remaining steps.
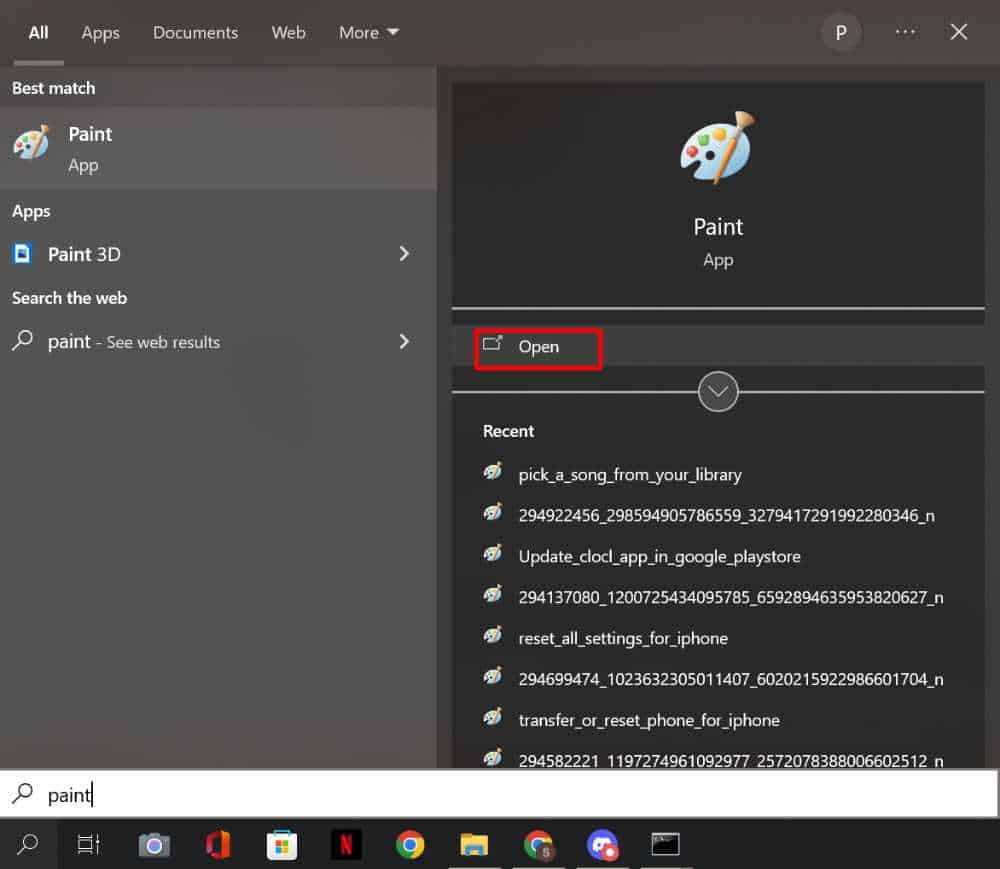
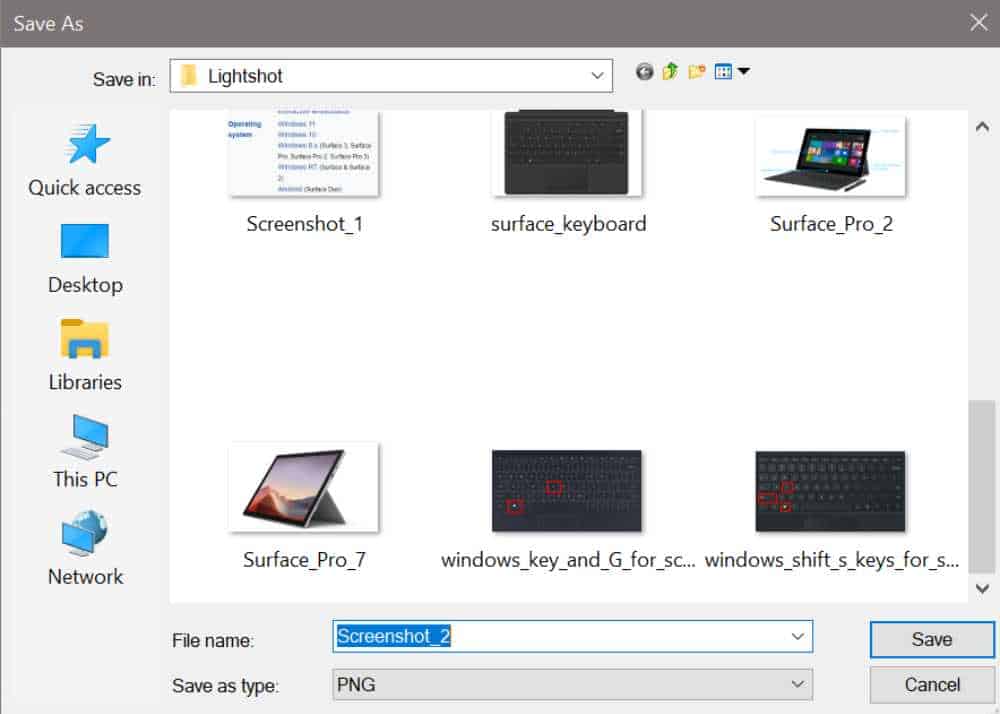
Using MS Paint
The MS Paint application is another way to edit and save an image on your surface. This is an ideal app to use if you cannot install other third-party apps. You can only use this for newer models as the older one don’t have print screen key. In order to use this approach, take the following steps
Using Third-party Apps
There are various third-party screen capturing applications. We will be demonstrating this process using the Lightshot Application. It allows you to capture an image of any selected area and save it to your PC. You can easily download this application on your Microsoft Surface by going to its respective page. Once you download it, follow these steps: Doing this uploads the picture in the Lightshot folder in your library. This way, you can take screenshots on your Microsoft Surface device in multiple ways.