Undoubtedly, you’re bored using the same font in Windows. Or, you probably want to have a unique interface of your own. Thus, in this article, we have explained the easiest way of changing the font style, color, and size in Windows 11.
How Can I Change the Font Style in Windows 11?
There’s no direct method to change the font style in Windows 11. So, this will be a bit tricky if you’ve never tried customizing it. Nonetheless, we have brought a simple guide that will assist you in changing your font in Windows 11.
Pick Your Font
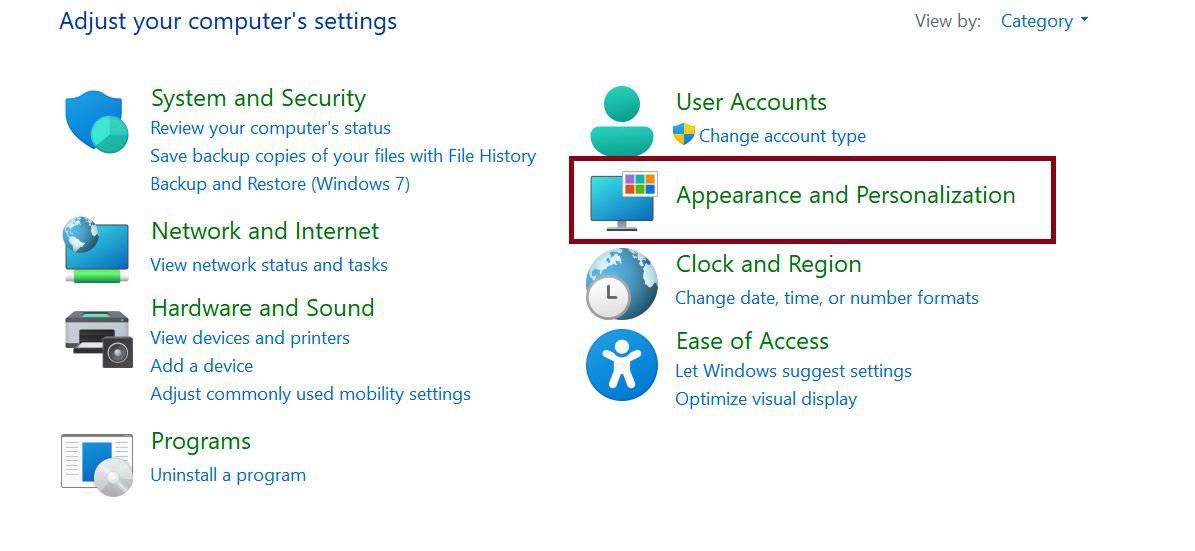
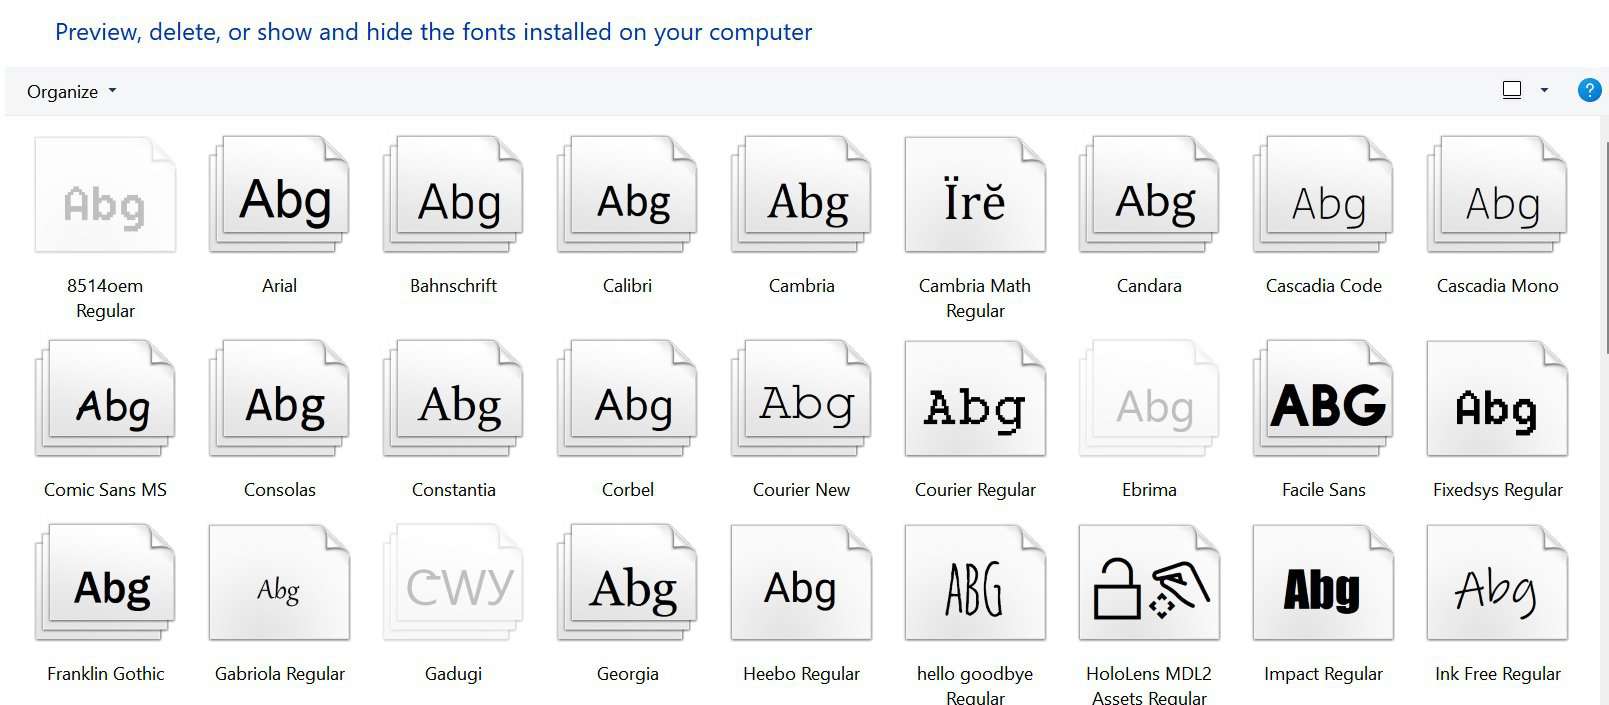
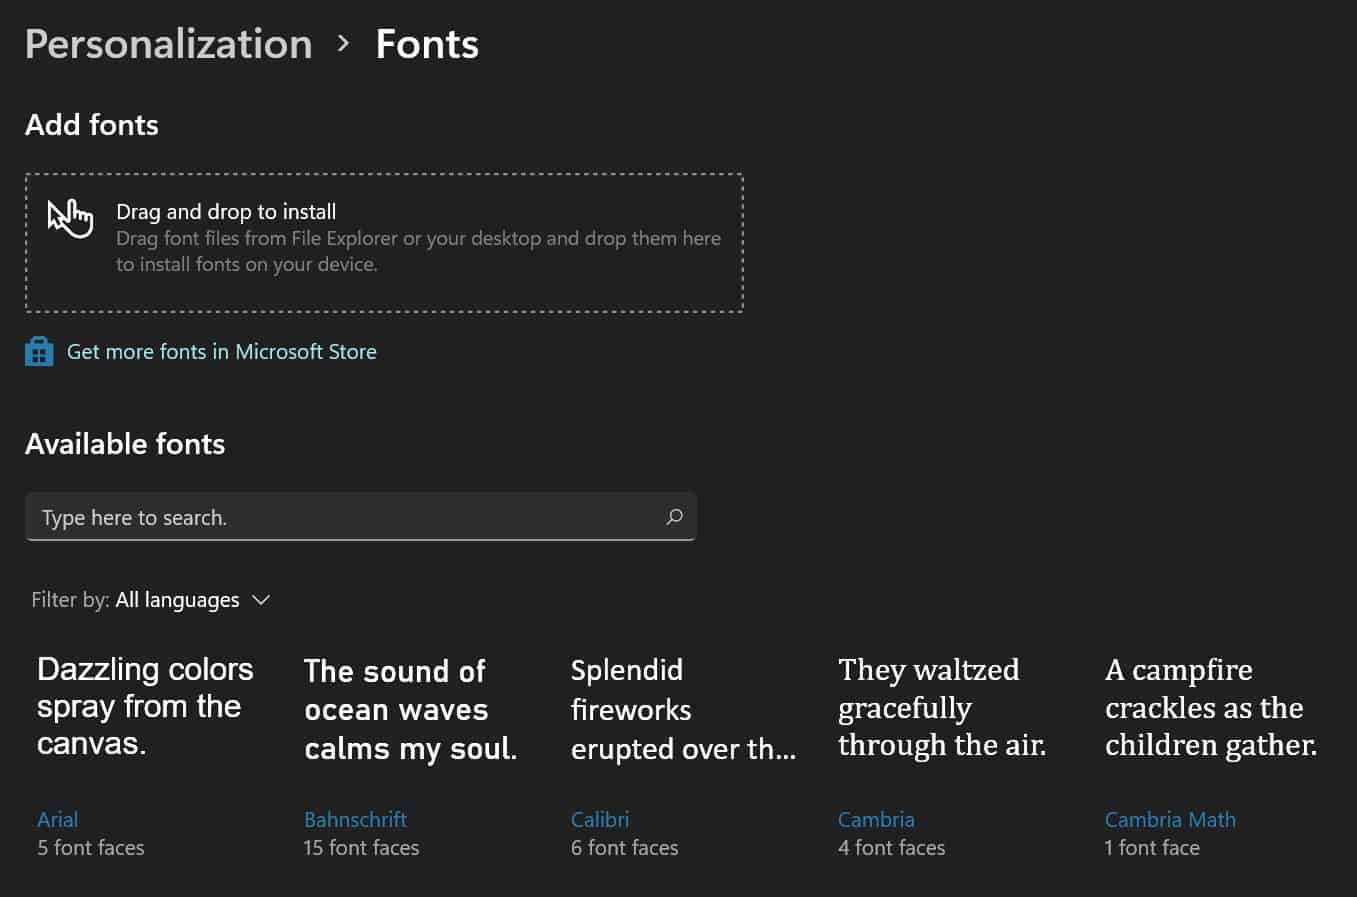
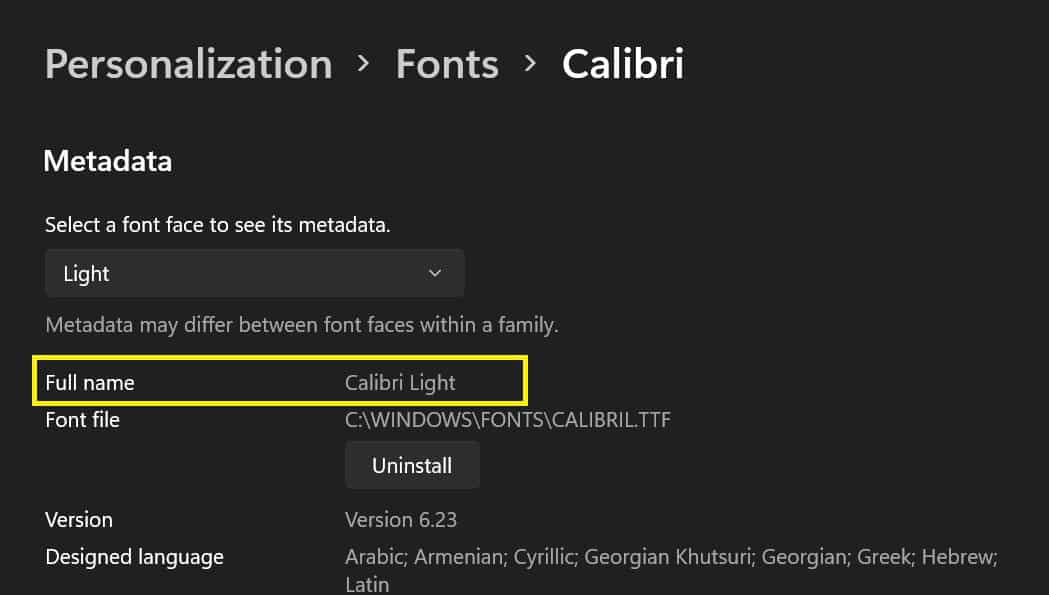
The initial step is to choose a font. Well, you can pick your desired style within the computer settings. So, here’s the first method of selecting a font via the Control Panel.: Another technique of picking a font in Windows 11 is via Windows Settings. These simple steps will help you choose the style you prefer: If you didn’t find the style you’re looking for, Microsoft gives you an option to install fonts from their Microsoft Store. Moreover, you can even download fonts for all the languages. However, this will take up a large space on your drive. Well, if you’re looking for a detailed guide on installing fonts on Windows 11, you can read our other article.
Create a .reg File
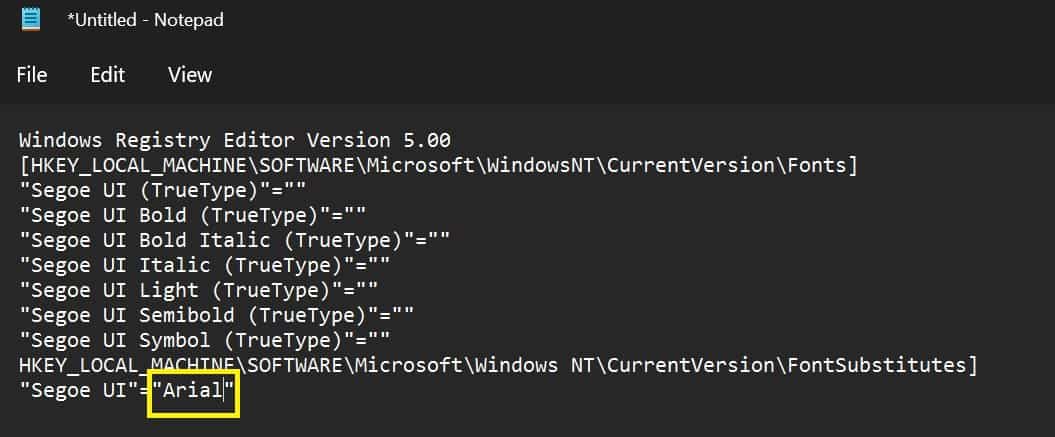
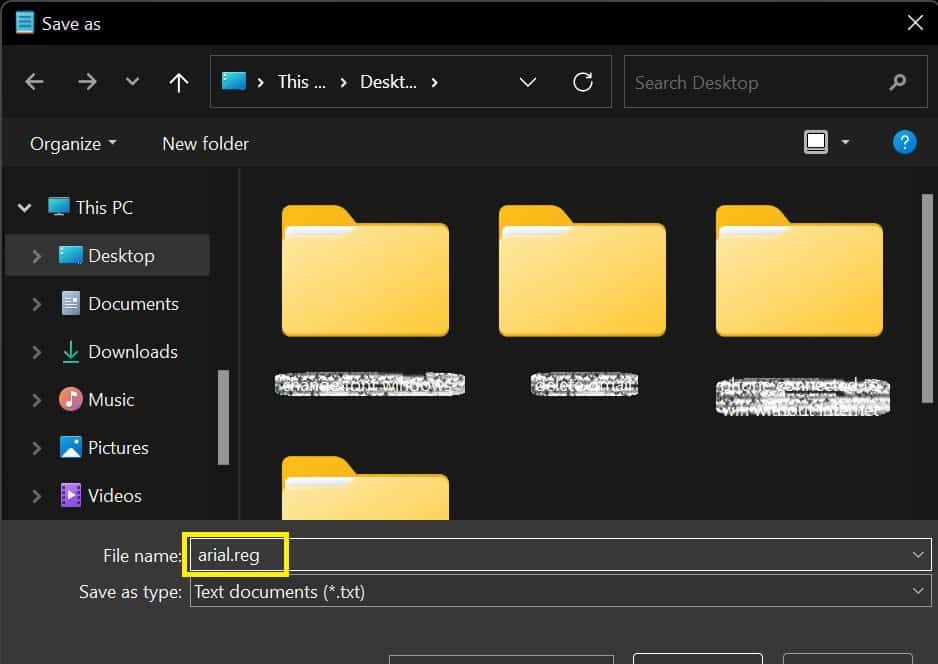
Just by picking a font, we can’t make any changes in the system. So, the next step is to create a .rig file that will update the font registry. Although this sounds a bit technical, anyone can create a .rig file within a minute by following these general steps:
Make Changes to the Registry
After saving the document, you have successfully created a program to change the font of Windows 11. However, this will work only after merging the content in the registry. Go through the guide below to learn how to make changes to the registry:
How Do I Reset My Font Style to Default in Windows 11?
Well, you’re probably done playing with different fonts in Windows 11. If you want to return to your old settings, here are some techniques that might help you.
Restore Default Font Settings From Control Panel
Restoring default font settings will bring back all the previous settings on your computer. So, this method might help you reset the font style to default. You need to follow these steps to restore default font settings on your PC: Several users have faced problems trying this technique. So, let’s jump into another method of restoring your font style to default.
Create a Default .reg File
Like you created a .reg File, we need to create another Notepad document here. Following is the source code you need to copy to make changes in your font settings:
Create a Manual .reg File
Reportedly, Windows 11 uses Segoe UI Variable as its default font. So if the default .reg file doesn’t work, you can create another document setting the font name to Segoe UI Variable. However, for some reason, few computers have a different default font than others. In such a case, you need to know the custom default font used on your PC.
How Can You Change Font Size in Windows 11?
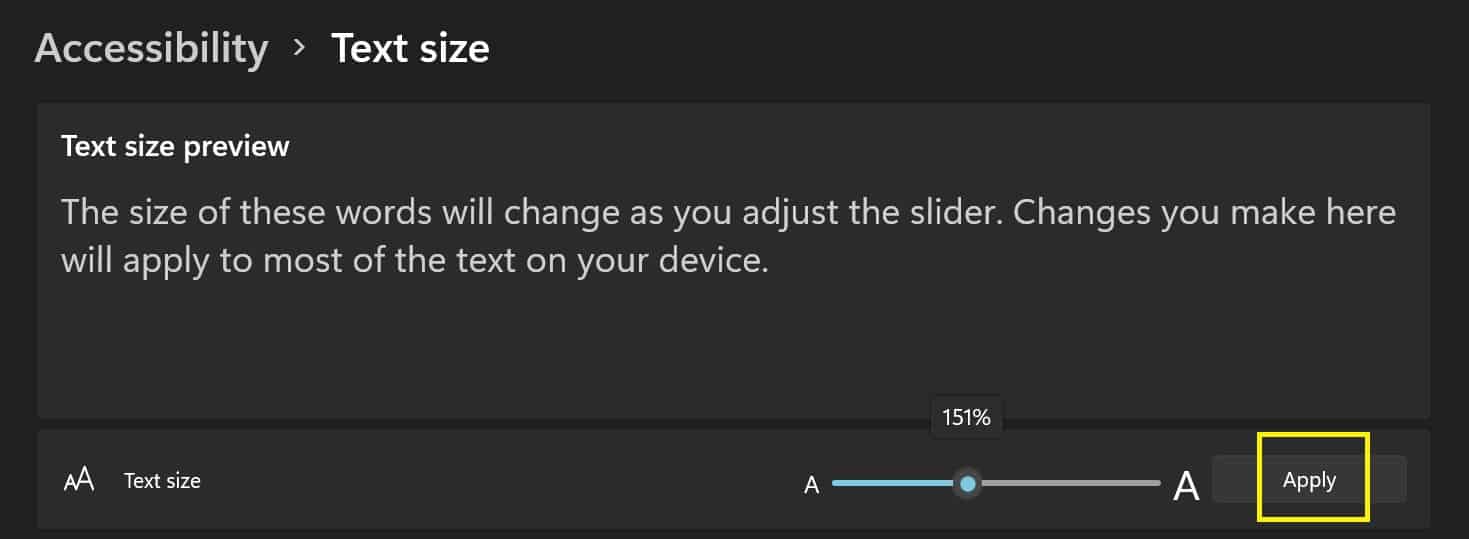
It becomes difficult to focus on the screen if your interface has a small font size. So, increasing the font helps to make Windows content look more readable. Furthermore, people suffering from short-sightedness and long-sightedness always face vision issues. Therefore, Windows has made a feature available to customize the font size from its settings. Read and apply these steps to change the font size in Windows 11: If you also have a mac and want to change it’s fonts size, read this article.
How to Change Font Color in Windows 11
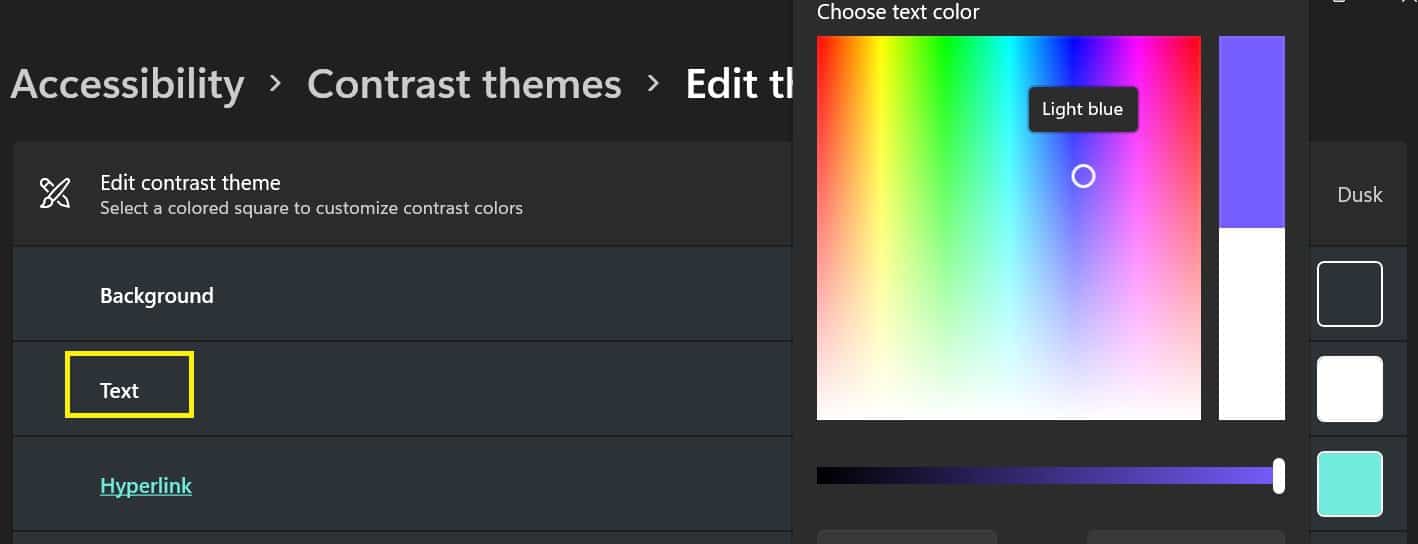
Very few know that changing font color is possible in Windows 11. To learn more, follow these basic steps:
