Microsoft did have a tool called Windows To Go (WTG) for creating portable workspaces, but it had a lot of limitations. For instance, it only supported USB drives certified for Windows To Go, external USB Hubs were not supported, and Windows To Go installations didn’t support feature updates either. As such, Windows To Go was deprecated in Windows 10 Version 1903. You can still use it to install older Windows versions, but this is generally not a good idea from a long-term perspective. If you want to install newer Windows versions to external hard drives without any limitations, Rufus is a great free and open-source option.
Install Windows with Rufus
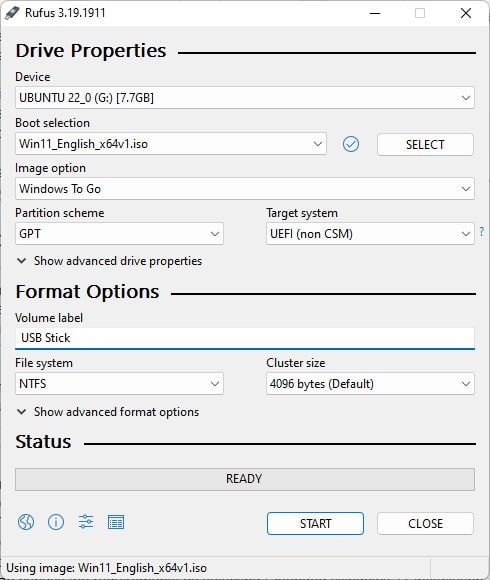
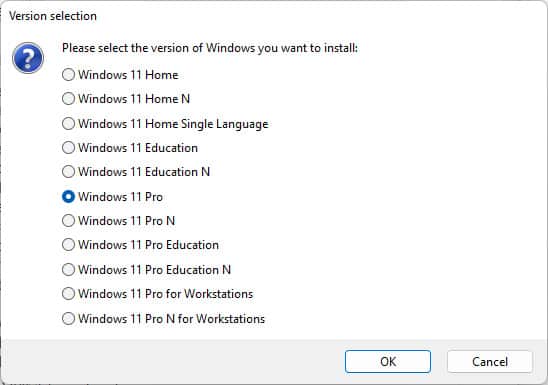
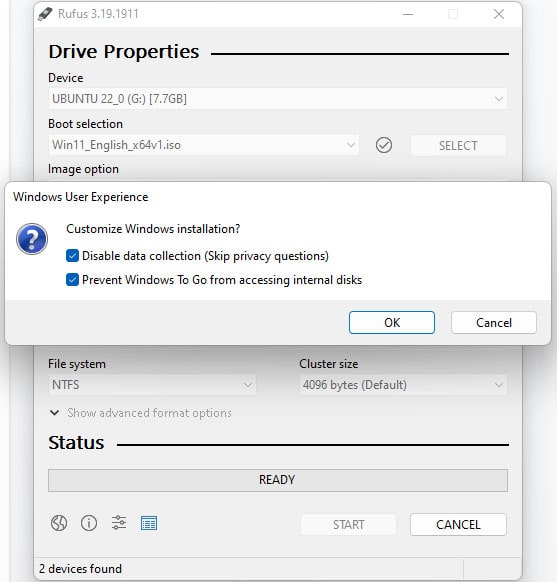
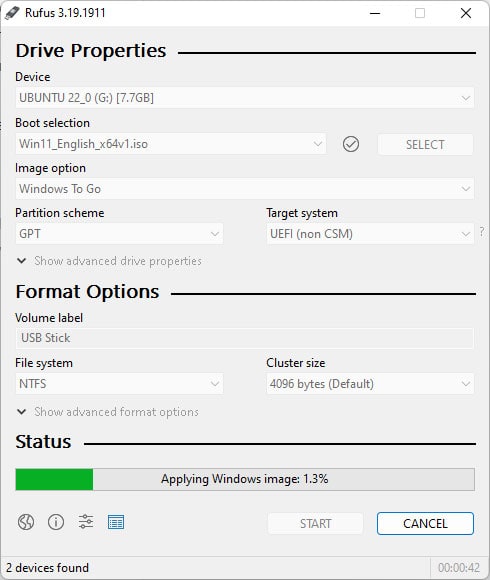
Rufus is generally used to create bootable USB drives, which in turn are used to install the OS onto internal hard drives. In this case, though, we’re using it for something unconventional, i.e., installing Windows onto an external hard drive. Aside from selecting the Windows To Go option during the initial phase, the rest of the process is mostly the same. Here are the full steps:
Install Windows with Windows To Go
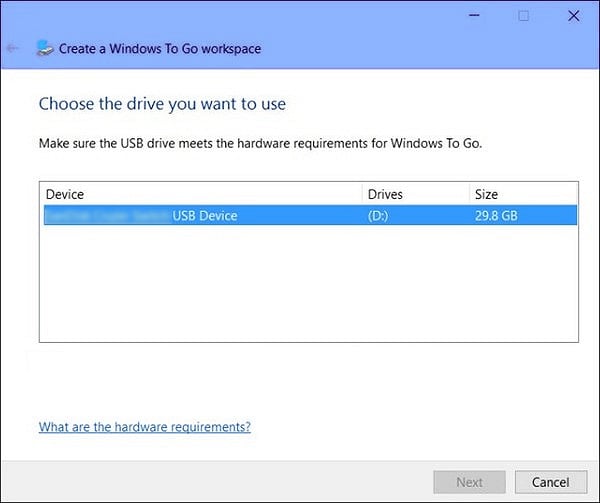
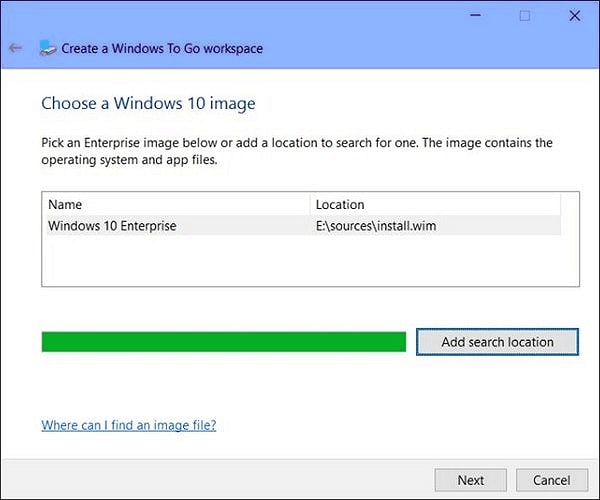
As stated, the Windows To Go feature is mostly deprecated now due to its various limitations. However, if you want to use this anyway on older systems, there are a few things to keep in mind. First, unlike Rufus, the hard drive needs to be a Certified WTG USB drive. This should be the only USB drive connected to your PC during the installation. Next, the Windows Image (WIM) file that you use should contain a valid Enterprise sysprep generalized image.
WTG Creator Wizard
With that said, the steps to use the Windows To Go creator wizard are listed below. As this wizard is only available on Windows 8 Enterprise clients, you can follow the command-line method listed further below in the case of other systems.
CLI Method
The command-line method uses PowerShell to perform essentially the same steps as above. First, we select the USB drive, clear all data from it, and initialize it as an MBR disk. Next, we create a system partition, format the volume as FAT32, and set up the volume for use by assigning it a drive letter. Here are the initial steps for all of this:
First, ensure that only the intended USB drive is connected to your PC. Press Win + R, type powershell, and press CTRL + Shift + Enter. Then, execute the following commands one by one in Powershell:
After the initial procedure is complete, use DISM to apply the OS image onto the system partition as such:dism /apply-image /imagefile:n:\imagefolder\deploymentimages\mywtgimage.WIM /index:1 /applydir:W:
Next, use bcdboot to move the necessary boot files to the system partition as such:W:\Windows\System32\bcdboot W:\Windows /f ALL /s S:
The process is mostly complete, but we’ll need to create a couple of XML files before we’re done. First, create a san_policy.xml file with the following content:
Navigate to the root directory of the Windows partition on the WTG drive and save this san_policy.xml file there. Then, execute the following command:Dism.exe /Image:W:\ /Apply-Unattend:W:\san_policy.xml
Next, create an unattend.xml file with the following content:
Save and copy this unattend.xml file into the sysprep folder. Its location will generally be W:\Windows\System32\sysprep.
Do note that there might be a temporary unattend file in the %systemroot%\panther folder. If there is, you should replace the previous version with the one you just created.
Once all of this is done, all that remains is to reboot your PC, boot into the USB, and complete the setup process.