While doing so, the GPU itself experiences a heavy load from those programs and processes. As a result, the temperature of the graphics unit raises quite a lot. But, sometimes, the temperature surpasses the GPU’s threshold and it is forced to go through thermal throttling to save itself. Several factors can bring this consequence ranging from improper airflow to hardware malfunction in GPU. However, the problem is not unfixable. You can easily bring the temperature back to normal and move on with your work. In this article, we are going to look at easy, tried, and tested fixes on how to lower the GPU temperature.
What Causes Rise in Temperature of GPU?
Whenever we play some games or run programs that demand a lot of processing capacity, the GPU exhibits a rise in temperature. But, the GPU is designed to handle this thermal burgeoning. It is normal for it to go up to 85 degrees Celsius. Once we stop the program, it comes back to its normal state. Now let’s focus on the solution to decrease the GPU temperature after carefully considering the causes for its rise.
How to Lower GPU Tempurature
Even though GPUs come through a fair share of temperature rises, excessive heating can take a serious toll on our system. This can not only decrease the performance of the system drastically but also compromise the integrity of the unit. But, you can easily solve this issue by taking some precautions and applying some tested fixes to it. Let’s go through each of them in detail below.
Check GPU Fan
If you have a Dedicated Graphics Unit, then you can see a separate set of fans on it. Even if it is an integrated one, you will find a fan over the CPU. These fans function to keep the temperature of the GPU in check during usage. But, sometimes, the fans might be malfunctioning or just disconnected and the GPU may not have received enough cooling support. So, it is always the best idea to first check whether your GPU fan is running or not. You should unscrew the CPU casing and run the system to see if the GPU fan is working. If it is not functioning well, then you can either take it to a repair center to just look at the fan connection or replace the GPU. In the case of an integrated GPU, if the CPU fan is not working, then you probably won’t be able to start your system at all. If it is in good shape, you should look to the next fix.
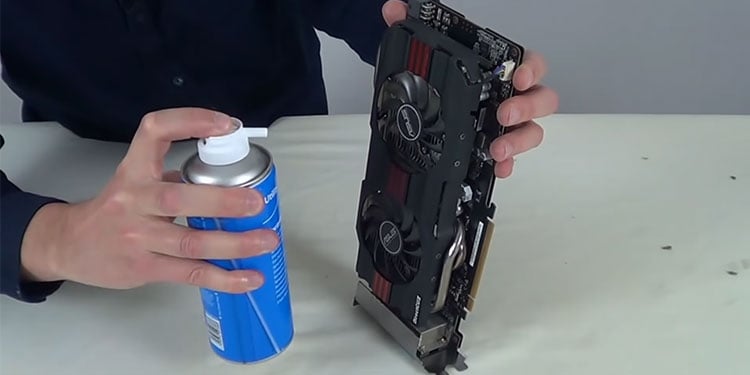
Clean Your GPU
Cleaning a system seems too mundane. But it is one of the most important tasks to do in order to get the best out of your PC. The fan provided to cool the GPU does its job by circulating the surrounding air. Along with the air, it brings in dust and dirt. Even without the fan, it is impossible to prevent dust from entering the GPU. Hence, over time, the GPU accumulates a lot of dirt inside of it as well as in the fan blade. This results in clogging of the fan. The dust also acts as an insulator preventing the heat to move out of the GPU. Eventually, this leads to overheating of the GPU throughout its usage. Hence, you should always follow a good cleaning procedure to overcome this issue. Let’s go through a simple cleaning process that you can apply. Check the temperature of the GPU to see any improvements. You can see the GPU temperature quickly by following ways. Compare the temperature to what you saw earlier. However, excessive cleaning or deep cleaning of a system can have a negative impact on it. It might damage the heat sinks as well as the connection within the circuits. Hence, you have to be extremely careful while doing so.
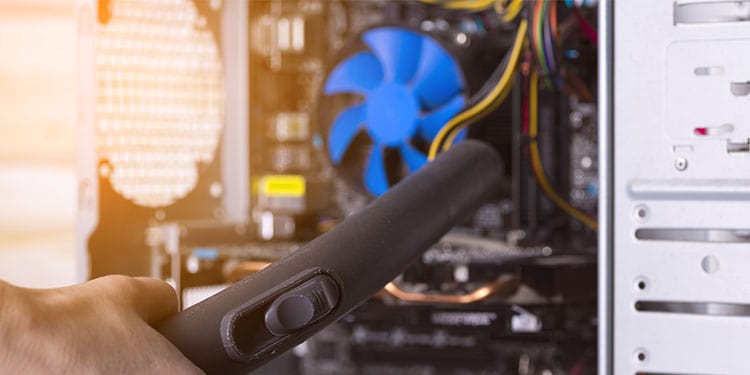
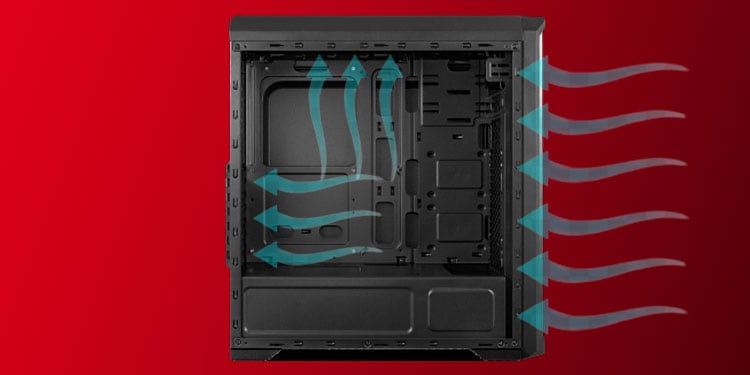
Proper Air Flow and Cool Room
We tend to collect all of our things in a single place so that we do not have to get up every time. And if it is a small isolated room, then what more can we ask for? Congested space, both inside the PC casing and the room, can negatively impact your GPU performance. If the GPU fan does not get enough air to circulate, then it does matter how powerful your fan is. Even worse, if the casing is small, then the flowing hot air will not have room to leave the casing. This increases your GPU temperature, decreasing its performance. To add to it, if the room is hot, then the fan will circulate the same hot air which will make no impact on cooling at all. Hence, you should always maintain a proper airflow inside your system and your room. You can use a cooler room with good ventilation to keep your PC. If it is not feasible for you, you can open the windows while using the system and install an external fan in the room. Similarly, you should consider a bigger CPU casing that can employ a number of fans in an optimal way. You should then assemble the fan such that the cool air comes into the casing from one set of fans and the other fans act as an exhaust. For a laptop, you should place your PC on a hard surface instead of a bed and cushion to allow proper airflow. We also recommend you go for a laptop cooling pad. After applying this solution, you should experience some change in the temperature of your GPU.
Undervolt Your GPU
The GPU consumes a lot of power to function and lifts up the heavy programs for your system. However, it can work fine, if not better, with a little bit less voltage as well. The GPU manufacturers set a slightly higher minimum power requirement by running heavy benchmark testing. They do this to make the same standard for all batch-produced GPUs. Hence, if you are able to decrease the voltage supplied to your GPU, then it will reduce the power generated, thus the temperature. This process is known as Undervolting and you can easily and safely perform undervolting on your GPU. You just need to have a reliable tool. No matter how daunting it may sound, undervolting is safe. If done to an optimal level, it not only keeps the temperature in check but also improves the performance significantly. But as the process is a bit longer and requires few prerequisites, we have compiled a separate guide explaining the process to undervolt your GPU. Do not forget to check your temperature after undervolting your GPU. You will experience a dramatic change in the temperature.
Stop Overclocking And Crypto Mining
Overclocking is a famous concept among gamers, programmers, and crypto miners. If you are one of them, we do not need to explain what it is. If you are unaware about it, Overclocking is a method to increase the Processor’s clock speed from the default value to force performance improvement. If you have overclocked your GPU to get the most out of it, then this might be the reason your GPU is acting irrationally. Overclocking puts a lot of heavy load on the GPU which will increase its temperature more than the threshold. Hence, you should revert the settings and stop overclocking. You can simply delete the tool that you made use of to overclock. Once you restart the system after uninstalling the tool, your GPU will return back to normal. You can also reset your BIOS settings to bring it back to normal if you overclocked from BIOS. If it is necessary for you to overclock, then you can do this only during the operation of heavy programs and not all the time. The reason we have mentioned Crypto Mining also here is that mining exerts the same kind of pressure on your GPU. So, you should immediately stop Crypto Mining if you want to save your GPU. If you have not done it yourself, then follow these instructions to find if your system is used to mine crypto coins. Check to see whether the overheating has come to control.
Optimize High-End In-Game Settings
We all want to play games in the highest possible settings. However, the hardware capability of our system constrains us. Using high-end settings in the game applies a significantly high load on the GPU as it has to render a lot. If your GPU heats up a lot while gaming, then it might not be compatible with the settings. You should consider lowering the graphical features such as texture, resolution, quality, etc. One of the optimizations can be to fix FPS, or Frame per Second. By fixing your FPS to, say 60, you will reduce the need for the GPU to refresh more frames per second on the screen. You should find the temperature of your GPU decreased much after this step.
Re-apply Thermal Paste
It is a natural process for the electronic system to heat. Hence, the manufacturer has provided a number of ways to dissipate the heat. One of the methods is the application of thermal paste on the hardware. You will find a white colored paste above your CPU, under the fans, and even in the GPU. This thermal paste controls the rise in temperature of the GPU. But this paste can vanish over time and you will have to replenish the paste to the hardware. You should scrub the remaining paste on the GPU and then re-apply the fresh thermal paste on it. Finally, you should check the temperature of the GPU after the application of the paste.
Update or Roll Back Graphics Driver
The cause of temperature rise is not always faulty hardware or a malfunctioning system. Sometimes, damaged software that controls the hardware is also responsible. Windows provides automatic updates to the hardware driver at a regular interval. Most of the time, we do not even realize that our hardware has been updated. But if you have set your system to manual update, then it may be missing out on important new features. Some of these features can be to repair the bugs in earlier software. Hence, you should update your graphics driver routinely. Let’s look at one of the ways to do it. But, these updates, sometimes, can be harmful as well. It might contain bugs or maybe simply incompatible. In such a case, you can always roll-back the installation by following ways. Examine the new temperature of your GPU.
Install Water Cooling
If none of the solutions worked for you, then your system may be in need of more robust cooling technology. Most of the time, using more fans with proper arrangement does the trick. But, a new technology of water cooling does the job much better. Water has very high specific heat capacity and can absorb much heat from your GPU. You should consider investing in a water cooling method with a proper risk assessment to lower the temperature of your GPU.