The microphone can fail to work simply because it’s muted in your Windows 11 system settings. Hence, a common fix is to unmute the microphone. However, the general fix may not always work, and you may require a different fix. Luckily, there are various ways to fix your issue. So, without further ado, let’s get right into the article to learn about them.
Why Is the Microphone Not Working on Windows 11?
Here are some common reasons why your microphone is not working on Windows 11.
How to Fix the Microphone Not Working on Windows 11?
Before jumping directly to the fixes, you can try some basic fixes like restarting the PC or the microphone device. If it works, great. But if it doesn’t, you can go through the several fixes mentioned below in the article.
Check for Microphone Hardware Issues
You can confirm that the problem lies in factors other than the faulty microphone hardware by testing it. Likewise, check if it’s working on another PC. You can also rule out the microphone hardware issue by performing a microphone test on your Windows 11 PC. Follow the steps below to find it out: On the other hand, it could be a loose microphone cable causing the issue, so make sure the microphone has been properly inserted. Also, clean the microphone port if dirty or dusty from the inside. Furthermore, check if you have inserted the audio jack in the right port.
Allow Permissions
You can speak or even yell as loud as you want into the microphone, but it will not work if your microphone is muted. Hence, check if you have accidentally pressed the Mute button on the microphone. Also, if the microphone is not working for a specific app or program, you probably have not provided the necessary permissions for that app. Here’s how you can enable the microphone systemwide or for the specific apps using the Settings app in Windows 11.
Update Device Drivers( Check)
An outdated audio device driver can be responsible for your microphone not working properly. Thus you need to update your audio driver to fix the issue. To update it,
Set the Correct Microphone as the Default
You can face this issue if you have multiple sound devices connected to your PC. This is because the microphone you want to use is not currently set as default in the settings. To make it your default device,
Run the Windows 11 Audio Troubleshooter
Windows 11 has an in-built troubleshooter to fix these kinds of issues. You can run the troubleshooter and apply the fixes according to it. Here’s how you can do it.
Use an Audio Splitter
If you have only one headphone port, you cannot connect both headphone jacks, which can cause microphone issues. Nonetheless, you can easily resolve this problem with an audio splitter. It allows you to connect two headphone jacks to a single port in your PC. So, if your pc has only one headphone port, try using a splitter.
Close Other Background Apps
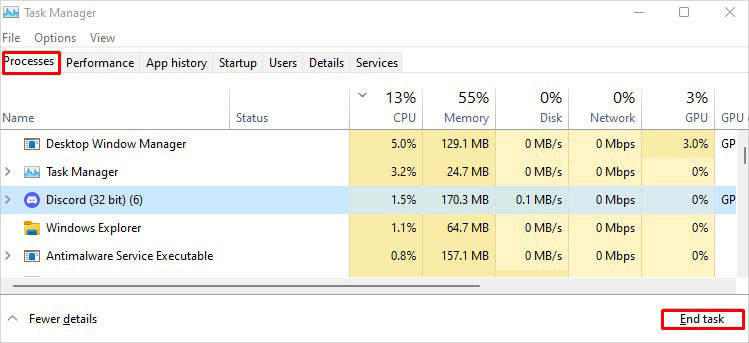
If you have microphone issues in one application, you might have other applications running in the background and accessing the microphone. You should stop all microphone-related apps for your microphone to work. Here’s you can do it.
Update Windows
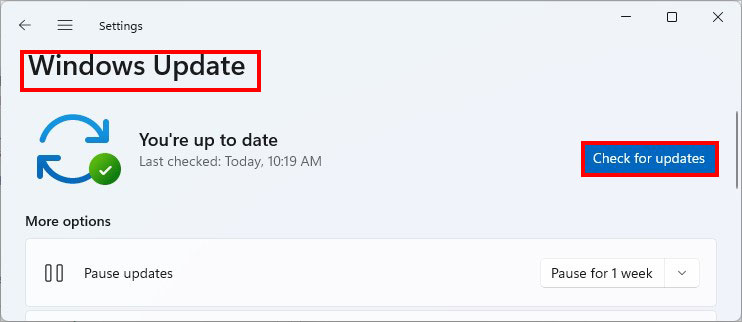
Every Windows 11 update comes with fixes for various minor/major bugs and issues. So, your problem could get fixed with the latest updates. Here’s how you can update Windows 11.
Related Questions
Why Isn’t the Microphone Working on My Zoom App?
Even if you have given the necessary permissions to Zoom on your PC, applications like these can have their own microphone settings. Hence you need to open and configure the microphone settings inside the app. If you do not know hpw, you can read our article to find the fix for it.


